

Hello, community 👋.
I am a CSM here at HiBob and would love to share with you my advice/tips on enabling self-service flows and approvals in Bob.
Why are Self-Service flows important in Bob?
If you require any sort of approval within your organisation, which needs to be tracked, monitored and audited, then self-service flows are for you! It’s also an excellent way of advancing your expertise with Bob, allowing it to be a single source of truth within your business, and is a perfect example of just how customisable our Employee Fields are.
Examples of these approval flows could be for:
- Expenses,
- Training Certificate/Renewals,
- Work from Anywhere Requests,
- TOIL/Overtime
- And many more.
Setting these up is a lot easier than you may think.
In this guide, I will talk you through how to Set-up a Self-Service flow, and then how to report on it too.
Setting up a self-service flow
Firstly, we need to create a Custom Field by clicking into Settings>Employee Fields:

Please note: when you create a custom field, it is automatically hidden from all in Permission Settings, so you will need to make this viewable, in order to add it into a Self-Service flow.
In this example, I will use Training Requests as my self-service workflow.

Here is also an example for Expenses:

Create the new fields, which will then be subject to approval, as seen above. I would recommend adding as many fields as possible, and also making them mandatory if it is required information for the approval.
Once you are happy, click into Settings>Permission groups>All people-own data>People>Your new custom field and allow it to be viewable, but not editable!
The next step involves creating the Self-Service flow, to do this, click into Settings>Flows>Self-service>Add new>Create the name for your flow, then:

Select the new Custom Field you have created, as above, then click next. On the final page make sure you assign approvers, notifications and an associated task list.

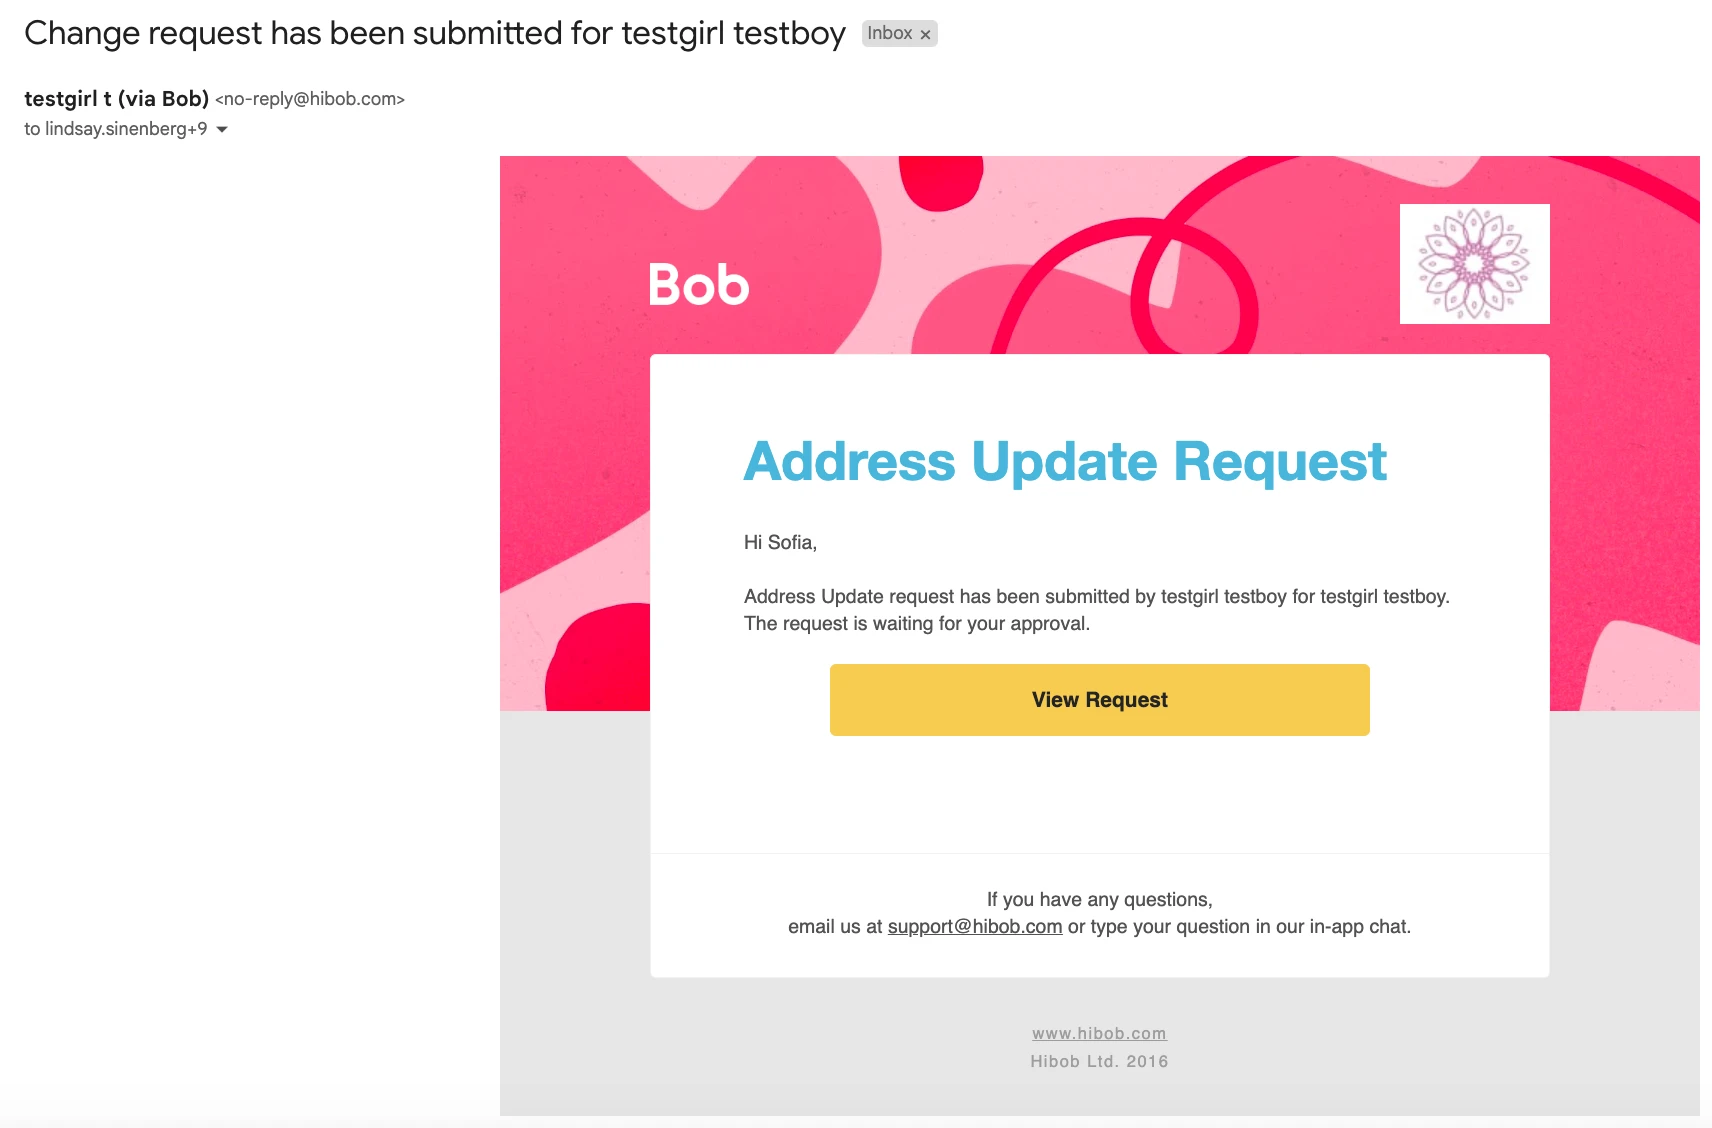
I would recommend adding a number of roles to the notifications, especially if numerous team members are involved.

Once you are happy with the above, and have assigned a task list (or toggle it off and create a new one after, then add it into the flow), press ‘Done’.
It’s always best to sense-check that the approval is working as it should, you can do this by logging in as another employee, click into their profile, and scroll down to the new custom field created. It should show with the following banner, if you have set it up correctly:

Fill in all of the details and press ‘Done”. The banner should change to the following:

The final step in the set-up is to check that the approvals process is working as it should. By “logging in as” one of the approvers, you can sense-check that this is appearing as it should. Once logged in, click into Org>Approvals, and you should see something similar to the below:

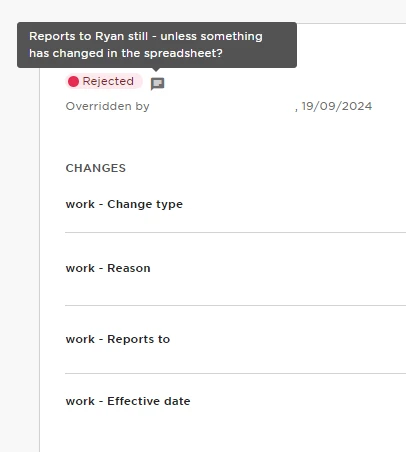
If you click into the test approval, you should be able to either ‘reject’ or ‘accept it’, if accepted, it will cascade to further approvers (if set-up).

Reporting on a self-service flow
As mentioned previously, the ability to set-up self-service flows can really advance and automise approval processes. However, it's crucial that as a business you can report on, and audit this.
For a typical change report on these custom fields, click into Analytics>Reports>Add new>Report>Use a Template>Changes>Employee data changes>Generate.
You can then use the Column picker, to add in your additional custom fields. You could then schedule this as a weekly report sent to the HR Team/Departmental Leads.

NEXT UP: A follow-up post where I will share how your Employees can submit these self-service approvals, so you can begin cascading these workflows out to your business!
😁